Showing posts with label Winter. Show all posts

Sunday, March 3, 2013

Snow Maze


We have had A LOT of snow around here recently.  At our house it is up to my knees!


The kids have all enjoyed playing in it, but now looking at our yard, all you see is a MESS.


Or if you are me you see a MAZE. A snow maze just like a corn maze; that would be fun.  I was picturing building up huge walls of snow for my kids to run through and get lost in, but was met with opposition from my husband. "Our snow is too packed and won't make a good maze," he told me. So we have to find new snow, untouched snow, Grandma's snow! 

Out at Grandma's I (eventually) convinced Nathan to go out and make a maze for the girls. But the snow was not as deep there; there would be no way to make high walls on the maze (without tons of work). So he started by shoveling a bit out of the path and then went to just packing it down as he walked. (Much easier then my plan.)


 Between Nathan, Uncle Sean, and Grandpa, we had a good size maze (bigger then I expected) in a little over an hour. (I couldn't even fit the whole thing in one picture!)


Once they were finished we put two huge icicles at the beginning and let the girls go through.  The first time through they had some adult help, but after they were more comfortable, they were willing to go on their own.


 Even Eli wanted to try! The first time through he had some help too, but he still made a lot of wrong turns. He also didn't see the point of staying on the path when he could easily make his own. 


Overall they had a good time trying to find their way through the maze. Even though it wasn't exactly how I pictured, it was still pretty awesome! What have you been doing with snow?


Monday, February 25, 2013

Snow Castle


It snowed! A LOT! Luckily a couple days after the snow it was fairly warm out and the snow had melted slightly and refroze at night, and you know what that makes? Snow fort snow! The packable sturdy snow you can build with. I think this is my husband's favorite snow because he likes building snow forts. 

So out he went with a container and all the kids. He started with a sidewalk chalk container and decided it was too small, so he switched to a plastic shoe box which worked much better.  Start by packing your container with snow. Once it is good and packed, flip it over and build just like a sand castle.


This snow fort turned into a snow castle when I brought out spray bottles of colored water and a cup. I will say you need your water pretty dark to get it to show up, especially the yellow! The girls happily went to spraying the colored water on the snow castle and then Nathan made a moat with the blue. Eli couldn't help but want to be in the moat; fitting to have a monster in the moat anyhow I suppose.  


As they were coloring the snow, we used the cup to make little turrets for the top of our castle. I also found some "caterpillars" (what the girls call these fuzzy topped weeds) for flags. Nathan dug out an entrance and found a piece of wood for a drawbridge, and Bria used her scarf as a carpet.


The girls were excited when it was finished and their "hangers" (fingers) could play in it. 


That evening I put some colored ice cubes in the freezer to make some Ice Jewels. I figured the girls might want to decorate their castle with them.  I was wrong! They wanted to pretend they were slugs all going to a ball for the princess slug. Yeah, I have no idea how they came up with that. Poor Eli just kept getting told (by the girls) to stay away from their slugs.


Now I have heard we may be getting even more snow, so it will be interesting to see what happens to our castle and the little slugs.  Have you built anything cool out of snow this year?


Thursday, February 21, 2013

Fake Snow (from diapers)


Last week the girls picked up some books about SNOW from the library; of course, it was a rather warm week with no chance of snow! So after reading Snowflake Bentley and The Story of Snow, we decided to make some of our own.


Once again I started dissecting disposable diapers (HERE is our first experience doing this). I left more of the white fluffy stuff this time since it is white like snow; I also threw in some glitter.


We added some water, and.....


instant snow! (We did add a little blue food coloring for fun too.)


This stuff is a wonderful jelly consistency that is also cool to the touch. Lots of fun to SQUISH!


Once they were done playing (when the snow started getting all over the floor), we decided it needed to melt away like real snow too.  So out comes the salt. Sprinkle and wait then stir a bit. Sprinkle some more if you didn't use enough the first time. 


The salt draws the water back out, and now the snow is gone!
 

So if you don't have real snow this is a pretty fun substitute! 
(Of course today we got some of the real stuff too!)


Monday, February 4, 2013

DIY Frost


This is a quick, easy experiment to show little ones how FROST is made! I found it over at Science Sparks a month or so ago and have been waiting for the right time to use it.   We've been seeing a lot of frost around with the cold weather, and with a couple of us under the weather this past week, it seemed like a good time to pull it out!


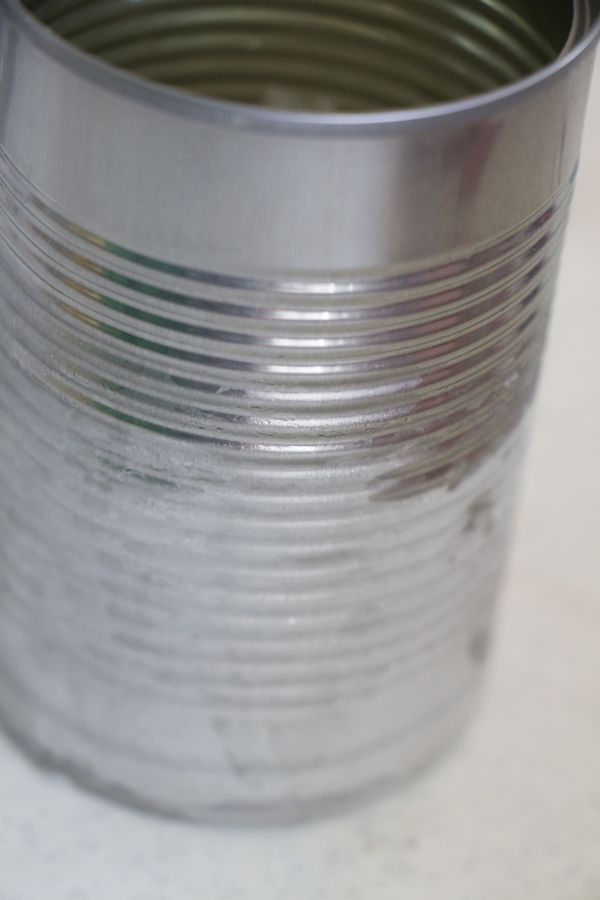
 You only need a few things to do this.  A clean, empty can (ours are from soup), ice (I crushed ours), salt, and water.  Start by filling your can at least halfway with ice.


Then add some salt and water.  We tried rock salt in one can and sea salt in the second.  Both worked fine.  I stirred ours around a little, but I don't know that it helped any.


Then you wait.  See the frost starting to form.


The girls liked the fact that they could draw in it.


Wait even longer, and you have more frost!


What's happening? The salt lowers the melting temperature of ice (as seen HERE), so adding it and the water allows the ice to quickly melt and cool off the can (to below freezing).  The can becomes much colder then the surrounding air which cause the water vapor in the air to form tiny ice crystals on the side of the can aka FROST!

Like I said, super simple (but still educational) for those days that you don't feel like putting something elaborate (or messy) together!